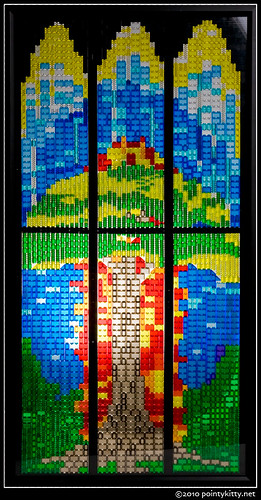
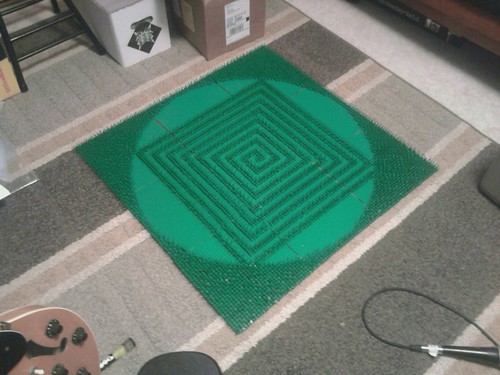
One of my favorite things to do with LEGO is to use cheese slopes to make different mosaics. I once took a series of photographs that show how to make a simple stained-glass window out of cheese slopes. I'm going to present them here, with some instructions on how to do it.
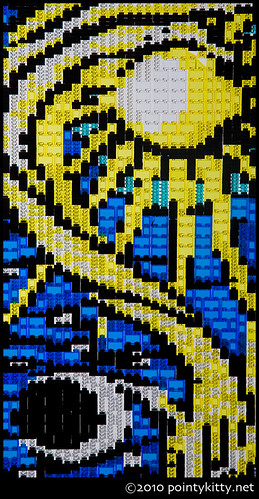
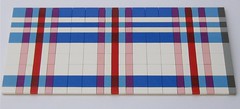
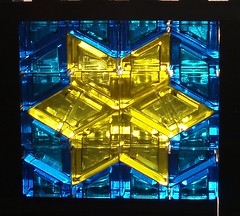
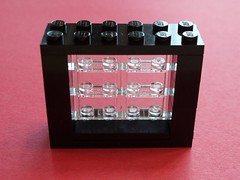
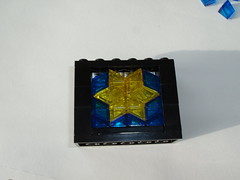
First off, here is the final result:
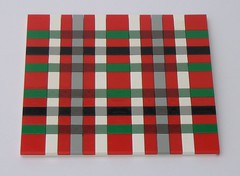
Any of the colors can be changed, of course; I love to take a design that fits into a certain space, and then change the coloring repeatedly until I find all the different shapes and patterns that can be highlighted. For some designs I'll even make a completely white template, print up copies, and then just color all sorts of different designs with markers, which are much easier to manipulate than cheese slopes. You can see some of these coloring pages
here.
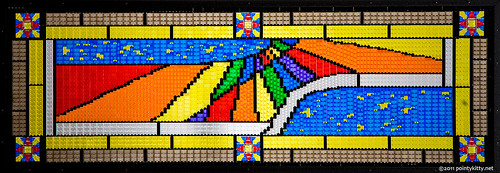
To make the star mosaic, you'll need the following. The colors listed are those shown in the photograph:
2 -
2x6 black plates2 -
1x2 black plates1 -
1x4 black tile (or
plate, if you don't mind the studs showing through the "glass")
6 -
1x2 black bricks1 -
1x4 trans-clear plate (or equivalent)
6-
1x2 trans-clear bricks (or equivalent)
16 - trans-blue
cheese slopes12 - trans-yellow
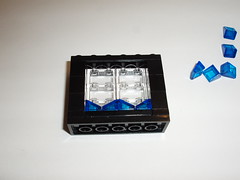
cheese slopesThe first step is to make the case for the mosaic to be held in. This is done with the black and trans-clear bricks and plates.
Start with a 2x6 plate:

Then put on the two 1x2 black plates, black tile, and trans-clear plates as shown. I didn't have a 1x4 trans-clear tile, so I used an assortment of 1x1 and 1x2 plates.
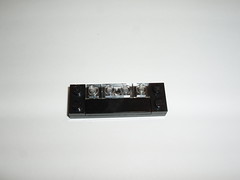
Add on the 1x2 bricks, black on the sides, trans-clear in the back.
Then add the other 2x6 plate to the top, to complete the case.
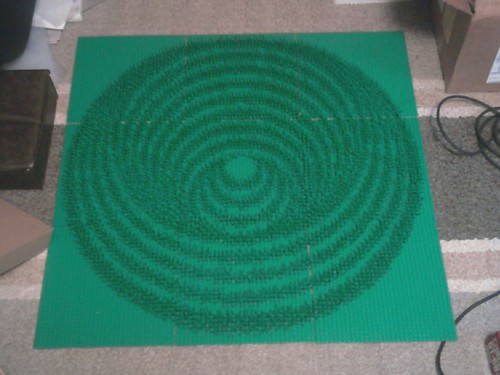
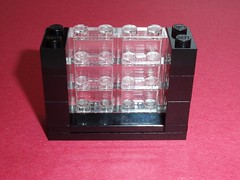
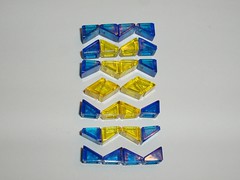
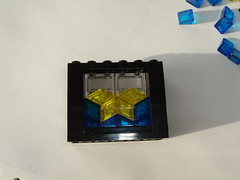
Now it's time to add the cheese slopes. Here is a layout of the design before I put it into the case:
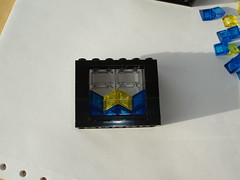
I carefully add in one layer at a time, starting from the bottom. I find that my fingers are big and clumsy when working with cheese slopes, so I usually have a toothpick that I use to nudge them into place, or to help pull them out if they fall onto the wrong side. I've also heard people who say they've used tweezers to good effect.
If you used a plate instead of a tile, the first layer of cheese slopes will fasten into those studs.

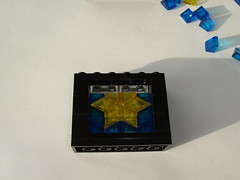
Sometimes the last few pieces can be difficult to wedge in. It's important that they're tight, so they don't fall out, but if they're too tight, the case will fall apart. When creating cases for different-sized designs, it can be tricky to get the tension just right. I usually do a lot of trial-and-error till I get it to work. But once the tension is right, a mosaic can be placed vertically without falling apart. For this design it's easy to just loosen the top plate a bit, perhaps even remove it entirely, put the cheese slopes into their spots, and then re-attach the top.

Some designs fit their cases so perfectly that they can even be held upside-down, as you can see
here,
here, and
here. (That last one is definitely my favorite.)
I suppose that's just about enough self-promotion for one day! But if you would like more ideas of cheese slope designs, you can look through
this set. There are often more examples of this technique in the
Cheese Slope Cubes flickr group.